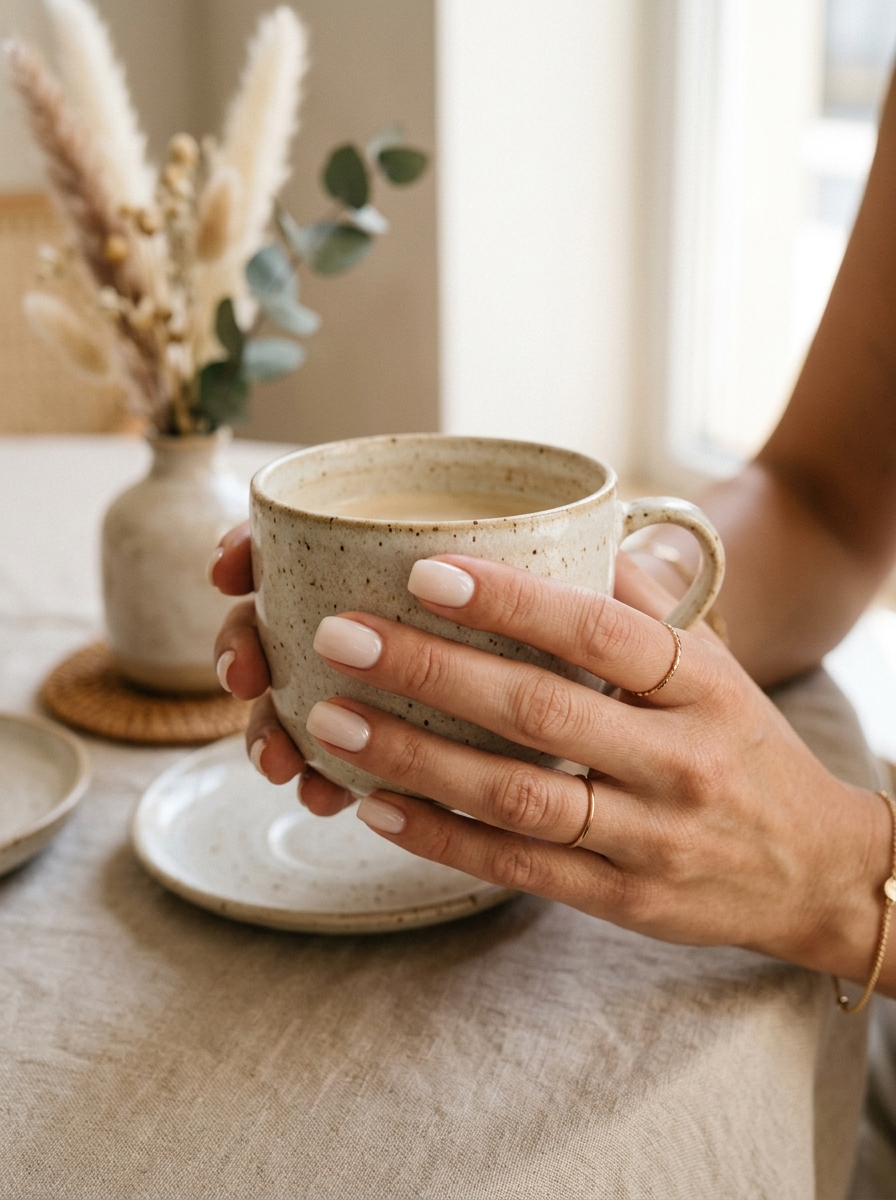
In the realm of modern nail aesthetics, the understated milky neutral manicure stands as a benchmark of clean, timeless sophistication. Defined by translucent creamy whites, soft oatmeal tones, and delicate micro-French accents, this manicure enhances natural nail beds, creates an elongating effect on the fingers, and transitions effortlessly across work and weekend wardrobes. For more quiet luxury manicure concepts, explore our guide on 20 Quiet Luxury Nail Designs for an Expensive Manicure.
The 3 Coverage Tiers & DIY Polish Layering Method
Practical Shade Selection: The difference between a harsh chalky white and a soft milky manicure is controlled translucency. Rather than solid opacity, milky nails use semi-sheer formulas that allow the natural nail bed to softly show through. To create this look at home with regular polish, apply one sheer coat of translucent pale pink or nude, followed by one sheer coat of soft off-white, and seal with a high-gloss top coat to soften the transition line.
Why Milky Neutrals Remain a Versatile Choice
Unlike stark opaque whites that can look stark against cuticles or show noticeable regrowth within days, milky neutrals possess a soft, diffused quality. They soften minor nail plate unevenness, blur the boundary between the nail bed and free edge, and grow out gracefully without a harsh line. If you enjoy subtle metallic accents on neutral bases, check our tutorial on Minimalist Nail Art: Subtle Lines and Gold Flake Details.
Matching Milky Shades to Your Skin Undertone
Selecting a complementary base tone helps your hands look radiant and natural rather than washed out:
- Cool Undertones (Pink, Rosy, or Bluish tones): Soft porcelain whites, cool coconut milk, and pale cream shades with a subtle pink or lavender base harmonize naturally with cool skin.
- Warm Undertones (Golden, Peachy, or Olive tones): Oat milk, warm vanilla, soft honey-beige, and peach-tinted neutral shades complement golden complexions.
- Neutral Undertones: True alabaster creams and classic sheer blush-whites offer an easy, balanced match.
Understanding the 3 Descriptive Coverage Levels
Choose the coverage level that matches your styling preference:
1. Sheer Glaze
A subtle, luminous wash of translucent tint that lets your natural nail lunula and tip show clearly while providing a clean, glossy sheen. Ideal for a barely-there look.
2. Semi-Sheer Jelly Milk
The classic milky aesthetic. It softly diffuses the smile line into a misty, cloud-like gradient while maintaining dimensional translucency under everyday lighting.
3. Soft Cloud Milk
A slightly fuller cream finish that provides more even tonal coverage across the nail plate while retaining a soft, filtered appearance rather than a heavy solid white.
Step-by-Step DIY Guide: The Regular Polish Layering Method
You can create an elegant milky manicure at home using accessible regular nail polish:
- Prep the Nails: Clean nails gently and wipe with rubbing alcohol to remove natural oils. Apply one thin coat of clear base coat and allow it to dry according to the product's directions.
- Apply the Sheer Base: Brush on one coat of sheer translucent blush or nude polish. This provides a warm, natural foundation. Allow to dry per the polish's instructions.
- Layer the Milky Shade: Apply one coat of semi-sheer off-white polish using light, fluid strokes from base to tip. Keep the coat even and thin to avoid streaking, and allow adequate drying time.
- Seal with Gloss: Finish with a plumping, glossy top coat, gently running the brush along the free edge of each nail to seal the tips.
Adding an Optional Micro-French Tip
To add subtle definition to your milky base, you can paint a slim micro-French smile line along the edge of the tip. Using a thin detail brush or silicone stamper, keep the line under 1.5mm wide for a delicate, modern proportion.
Clear Salon Consultation Scripts
When visiting a nail salon, communicate your preferences clearly using these simple phrasing suggestions:
For Classic Milky Nails:
"I would like a semi-sheer, milky neutral shade with a soft undertone. Please keep it translucent rather than a solid opaque white."
For Milky Base with Micro-French:
"Please start with a sheer milky neutral base, and add a very thin micro-French line along the tips."
Nail Shape Pairings & Cuticle Care
Short squoval (square with rounded edges) and soft almond shapes pair exceptionally well with milky neutrals, highlighting the clean, natural outline of the nail. To keep cuticles soft and smooth between manicures, massage a drop of jojoba or vitamin E oil into the cuticles daily.
Frequently Asked Questions (FAQ)
How do I prevent sheer milky polish from streaking?
Avoid pressing the brush firmly against the nail plate. Hold the brush relatively flat and float the polish across the surface in smooth, light strokes.
How can I help my milky regular polish manicure last longer?
Clean nails thoroughly with rubbing alcohol before polishing to remove surface oils, cap the free edge with each coat, and wear protective gloves during household cleaning chores.
Can milky neutrals work on shorter nails?
Milky neutrals look great on shorter nails because the translucent finish creates a continuous, soft look that flatters shorter lengths.
Recommended Further Reading from Sharon Fashion Journal:
- Explore our editorial breakdown on 20 Quiet Luxury Nail Designs for an Expensive Manicure for more styling inspiration.
- Explore our editorial breakdown on Minimalist Nail Art: Subtle Lines and Gold Flake Details for accent art tutorials.
Final Styling Summary
The milky neutral manicure is an enduring classic of understated style. By choosing an undertone that complements your skin, selecting your preferred coverage level, and keeping cuticles hydrated, you achieve a clean, polished look that fits any occasion.
Save This Nail Design Guide on Pinterest!
Preparing for your next manicure session? Save these milky shade guides and micro-French consultation scripts to your Pinterest boards for easy reference!